Have you ever seen a video with an interview involved? Of course you have! Almost every video with a narrator these days shows you who’s talking. Unless it’s one of those super fancy documentaries voiced by Morgan Freeman. In those cases you don’t need to see the face because you know exactly who it is. But for the rest of us, the world just may not know quite who we are… yet. The funny thing is that as an editor, the first person I see when I start going through our footage typically isn’t the actor. It’s almost alway a crew member roped in to testing the set up.
For WMV Productions… that means it’s usually me. Thankfully we record each one so that Nick (the Director) and I can review the monitor together, which has provided me with a library of short lighting test clips for my friends on Facebook. But for as much fun as I have with it, this time spent in front of the camera serves a purpose. We can see how a person will look in the space we have prepared.
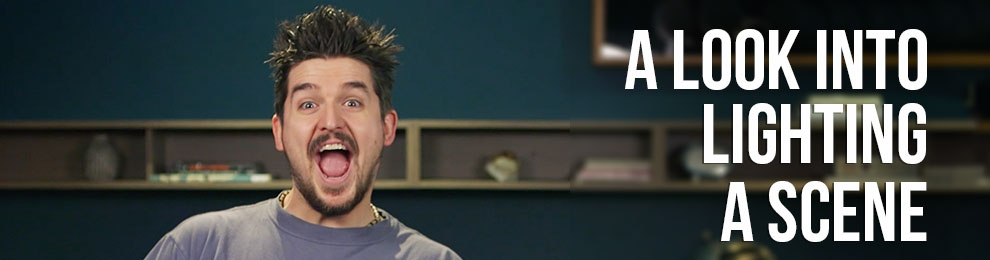
Lemmy standing in for a lighting test
This is a really important and often overlooked step in the process of setting up a truly well-designed interview. Not only because it presents your more energetic crew members an outlet, but because you can see how the shot will look. How the lights will affect the speaker, and the background around them. If equipment or dirt (a parlance used to describe unwanted props or items in the frame) can be seen. But above all else, it gives you time to adjust and make changes before the talent arrives. If you’re like us, you try to respect an actor’s time as much as you value your own. We have worked with celebrities and local actors alike, and all of them have at least this one limitation in common. Time.
Celebrities often have a far more strict schedule, and so they may only have a short opening for you to get what you need to make the video. The same can be true with local actors; many of whom work through an agency, which will likely have rules governing how long you can use them. With all of this focus on time, you want to plan in such a way that will maximize how long you can keep them in front of a rolling camera. Meaning you don’t want to spend that time making adjustments to lights, placement of the talent, or noticing that pesky shadow or power cord in the background.

Setting up a shoot for an interview or any other scripted scene, no matter who is going to be in front of the camera, takes time and effort to make it look good; and frankly it can’t be rushed if you’re looking for a high quality deliverable. It is important to have this extra time in the beginning to get the setup right, without cutting into your time with the talent. My father always used to say “measure twice, cut once.” Spend the extra time early to get things right before you are forced to rush and fix things in the moment. This makes you look far more prepared, professional, and creates less work for the editor. And believe me… we don’t need need, want, or like that sort of extra work. It’s time spent tweaking and masking footage to remove mistakes instead of spending that time enhancing the look and feel of the video.
There are so many topics that can touched upon… and I intend to, when it comes to setting up a great interview. Proper lighting, frame composition, color grading, and the motion graphics used all play a part in making the most of your footage. But the moral of the story for this week is to see the value of preparing and testing your setup. Whether or not your test subject has as much fun with it as I do, the work will help ensure that your footage will look great, and keep your crew looking professional. Hopefully this inside look into interviews will help you when you prepare your next set. Try to approach the interview the same way you think a film director would approach a critical dialog scene in their movie. Because in the end, you want the audience to be captivated by what is being said… not wondering why the video looks bad.
Check out the next installment, where we discuss how to properly light your talent.
Until next time!
